There’s something magical about dessert, isn’t there? It has an enchanting ability to bring people together, ignite smiles, and evoke cherished memories. Today, I’m so excited to share with you my No Bake Chocolate Cheesecake Cups—a dessert that embodies love, comfort, and the simple joys of life. Inspired by lazy summer afternoons spent with my family, these delightful cups capture the creamy richness of cheesecake and the decadent flavor of chocolate, all without the fuss of an oven.
As you dig your spoon into these indulgent little cups, the velvety texture dances on your palate, while the luscious chocolate flavor swirls in perfect harmony with the tangy cream cheese. This decadent treat is not only a crowd-pleaser, but it’s also a no-fuss, easy dessert that utilizes few ingredients, making it perfect for busy days or unexpected guests. If you love cozy recipes like this, subscribe to my email list!
Table of Contents
Overview of Recipe Content
So, what exactly are No Bake Chocolate Cheesecake Cups?
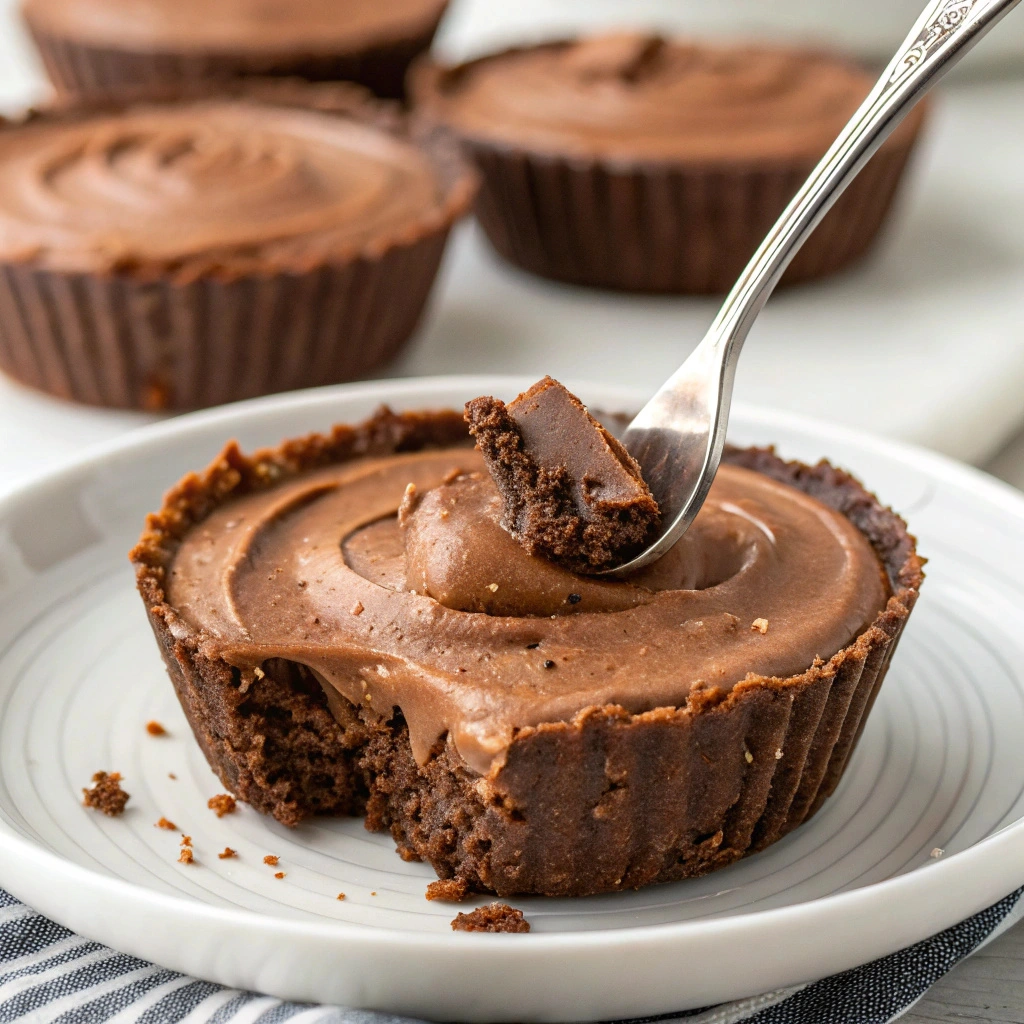
These charming mini desserts combine the classic flavors of chocolate cheesecake presented in individual cup servings, making them perfect for family gatherings, potlucks, or just an indulgent night in. They are light, fluffy, and rich, with a texture that gently melts in your mouth.
Best served chilled, these desserts offer a blissful balance of sweetness and creaminess that is simply irresistible. Imagine diving into a rich chocolate layer, followed by a smooth, creamy cheesecake filling that leaves you wanting more after every spoonful.
You’ll love this recipe for its simplicity—only a handful of ingredients yet packs a punch in flavor. These No Bake Chocolate Cheesecake Cups are customizable—feel free to switch up flavors, add toppings, or adjust the sweetness to your heart’s desire. Plus, with their easy preparation, they’re a fantastic solution when you’re craving something sweet!
Ingredients

For the chocolate crust:
- 1 cup chocolate cookie crumbs (like Oreo or any chocolate biscuit)
- 4 tablespoons unsalted butter, melted
For the cheesecake filling:
- 8 ounces cream cheese, softened
- 1 cup powdered sugar
- 1 cup heavy whipping cream
- ½ cup cocoa powder, sifted
- 1 teaspoon vanilla extract
For the toppings:
- Whipped cream (for garnish)
- Chocolate shavings or mini chocolate chips
- Fresh berries (optional, for color and freshness)
Tools Needed
- Mixing bowls
- Electric mixer or whisk
- Measuring cups and spoons
- Spatula
- Serving cups or jars
- Refrigerator
Suggested Substitutions and Additions
No need to stress if you don’t have all the ingredients on hand! Here are some substitutions and alterations that can elevate your dessert while catering to different dietary preferences:
- For a gluten-free option, substitute chocolate cookie crumbs with gluten-free cookies.
- If you’re looking for a healthier version, consider using Greek yogurt in place of cream cheese for a lighter filling.
- Explore different flavor profiles! Blend in a teaspoon of espresso powder for a mocha twist or add a hint of orange zest for a citrusy delight.
- Consider using milk chocolate instead of dark for a sweeter, less intense chocolate flavor.
- Top with crushed nuts or coconut flakes for added texture and crunch.
How to Make
Step 1: Prepare the Crust
Begin your journey by making the crunchy chocolate crust. In a mixing bowl, combine chocolate cookie crumbs with melted butter. Stir until evenly mixed, and it resembles wet sand.
You’re looking for a consistency that holds together when pressed. The aromatic smell of chocolate fills the air as you prepare the base. Gently press the crust mixture into the bottom of your serving cups, creating an even layer.
This step is crucial—the crust provides a sturdy foundation that enhances the overall texture and flavor of the dessert!
Step 2: Make the Cheesecake Filling
In a separate mixing bowl, combine softened cream cheese and powdered sugar. Using an electric mixer, beat until the mixture becomes smooth and creamy—about 2 minutes.
Next, sift in cocoa powder and add vanilla extract. Beat until fully incorporated. As the rich chocolate aroma wafts through your kitchen, you’ll feel an overwhelming sense of delight.
In another bowl, whip the heavy cream until soft peaks form. Gently fold the whipped cream into the chocolate cheesecake mixture, ensuring that you’re gentle to maintain that lovely airy texture. The filling should be light and luscious.
Step 3: Assemble the Cups
Now for the fun part! Spoon the creamy cheesecake filling over the chocolate crust in each cup. Swirl and smooth the top using a spatula or the back of a spoon.
Feel free to create decorative swirls or peaks—it adds a lovely touch! The creamy filling is so inviting and velvety, that it’s tempting to sneak a taste.
Cover each cup with plastic wrap and place them in the refrigerator to chill for at least 4 hours. This allows the flavors to meld and the texture to set beautifully.
Step 4: Garnish and Serve
When you’re ready to serve your No Bake Chocolate Cheesecake Cups, dollop each one with whipped cream and sprinkle chocolate shavings or mini chocolate chips on top.
For extra flair, add a row of fresh berries—strawberries, blueberries, or raspberries add delightful color and a burst of freshness. Your guests will ooh and ahh as you present these visually stunning and delicious mini desserts!
What to Serve with No Bake Chocolate Cheesecake Cups
While these cheesecake cups are incredible on their own, enhancing your dessert table can elevate the experience!
Consider pairing them with:
- A side of warm coffee or an espresso for a delightful contrast.
- A refreshing fruit salad to balance the richness of the chocolate.
- Crispy biscotti or homemade cookies for a complementary crunch.
For more delightful workshop ideas, here are 2–3 related recipes to try:
Tips for Making It Perfect
Here are a few tips I’ve learned along the way to ensure your No Bake Chocolate Cheesecake Cups turn out perfectly:
- Make sure your cream cheese is softened for easy blending. Leave it out at room temperature for about 30 minutes before you start.
- To maximize flavor, chill the cups overnight if possible. The longer they chill, the more the flavors develop.
- Avoid overmixing the whipped cream to maintain that light, airy texture. Stop mixing when you see soft peaks forming.
- If you find the filling is too thick, incorporate a tablespoon of milk to achieve your desired consistency.
- Consider doubling the recipe for gatherings or potlucks for easy serving!
Storage Instructions
These No Bake Chocolate Cheesecake Cups can be made ahead of time and stored properly.
- Refrigerate: Keep any leftovers in an airtight container in the fridge for up to 3 days, ensuring the creamy texture is preserved.
- Reheat: These treats are best served cold, so there’s no need for reheating.
- Make-ahead: Feel free to prep these cups at least a day in advance—perfect for busy schedules!
- Freezing: While I recommend enjoying them fresh, you can freeze the cups for up to 1 month. Thaw in the fridge before serving for best results!
General Information
The history of cheesecake dates back to ancient Greece, where it was served to Olympic athletes as an energy source! No Bake Chocolate Cheesecake Cups take this classic dessert and modernize it for everyday enjoyment.
My fondest memories of preparing dessert in the kitchen with my grandmother have influenced my desire to create simple, comforting recipes, like these no bake treats. For me, this dessert encapsulates love and laughter, a treat that warms the heart.
Frequently Asked Questions
- Can I swap the cream cheese for a dairy-free alternative? Yes! Look for vegan cream cheese options to make this dish dairy-free.
- How long can these cheesecake cups be stored? They can last up to 3 days in the fridge, but are best enjoyed fresh.
- What if the filling seems too watery? Ensure to properly whip the heavy cream until soft peaks form and fold gently—this keeps the filling light and creamy.
- Can I use other flavors instead of chocolate? Absolutely! Substitute cocoa powder with fruit puree or peanut butter for a different twist.
- Is there a gluten-free crust option? Yes! You can use gluten-free cookies or almond flour mixed with melted butter for the crust.
Conclusion
These No Bake Chocolate Cheesecake Cups are the epitome of indulgence—simple, delicious, and perfect for any occasion. The ease of preparation, combined with the rich flavors and creamy textures, makes them a go-to dessert for anyone looking to impress guests or enjoy a little self-pampering.
If you’re passionate about delightful desserts, I also recommend trying my No Bake Strawberry Cheesecake or Mini Berry Tarts for more delicious combinations.
Thank you for sharing in my love for food and family today. I can’t wait to hear how your cheesecakes turn out!
Interactive Elements
If you enjoyed this recipe, I’d love to hear your thoughts! Please leave a comment or review below.
Don’t forget to share a photo of your delicious creations on Pinterest.
Tag me on Instagram so I can see your beautiful cheesecakes!
Nutritional Information
Here’s the approximate nutritional value per serving:
- Calories: 320
- Protein: 4g
- Carbohydrates: 28g
- Fat: 22g
- Fiber: 1g
- Sodium: 180mg
Thank you for joining me on this sweet adventure of No Bake Chocolate Cheesecake Cups. Happy baking!

Emily brings four years of dedicated baking experience and professional pastry-focused training to Moms Meals Daily. She oversees recipe validation and quality control to ensure every dessert performs consistently and reliably.
No Bake Chocolate Cheesecake Cups
By Emily Hart
Ingredients
Instructions
Tools Needed
Save this recipe for later ❤️
Follow @mommealsdaily on Pinterest for easy dinners, desserts, and weekly inspiration.
Victoria Recipe | Easy Desserts & Dessert Recipes
Easy & Delicious Recipes
Follow for quick family-friendly recipes, baking inspiration, and comfort food favorites.
Follow on Pinterest